Chocolate Coconut Flour Bread

The Christmas season is upon us, yay! Did anyone else catch the dressed up boats cruising the harborside Saturday night? Really put me in the holiday baking mood! This is my favourite time of year to bake up treats. Mostly because it’s cold and baking helps to heat up the kitchen. So tonight I’m bringing the heat by baking some Chocolate Coconut Flour Bread. This does not contain any refined flour, and to be honest, is more like cake than bread. Here is what you’ll need:

  • 6 tablespoons butter (or coconut oil)
  • 1/2 cup sugar
  • 1 teaspoon vanilla
  • 1/2 cup cocoa powder
  • 1/2 cup coconut flour
  • 1 teaspoon baking powder
  • 1/2 teaspoon salt
  • 6 eggs

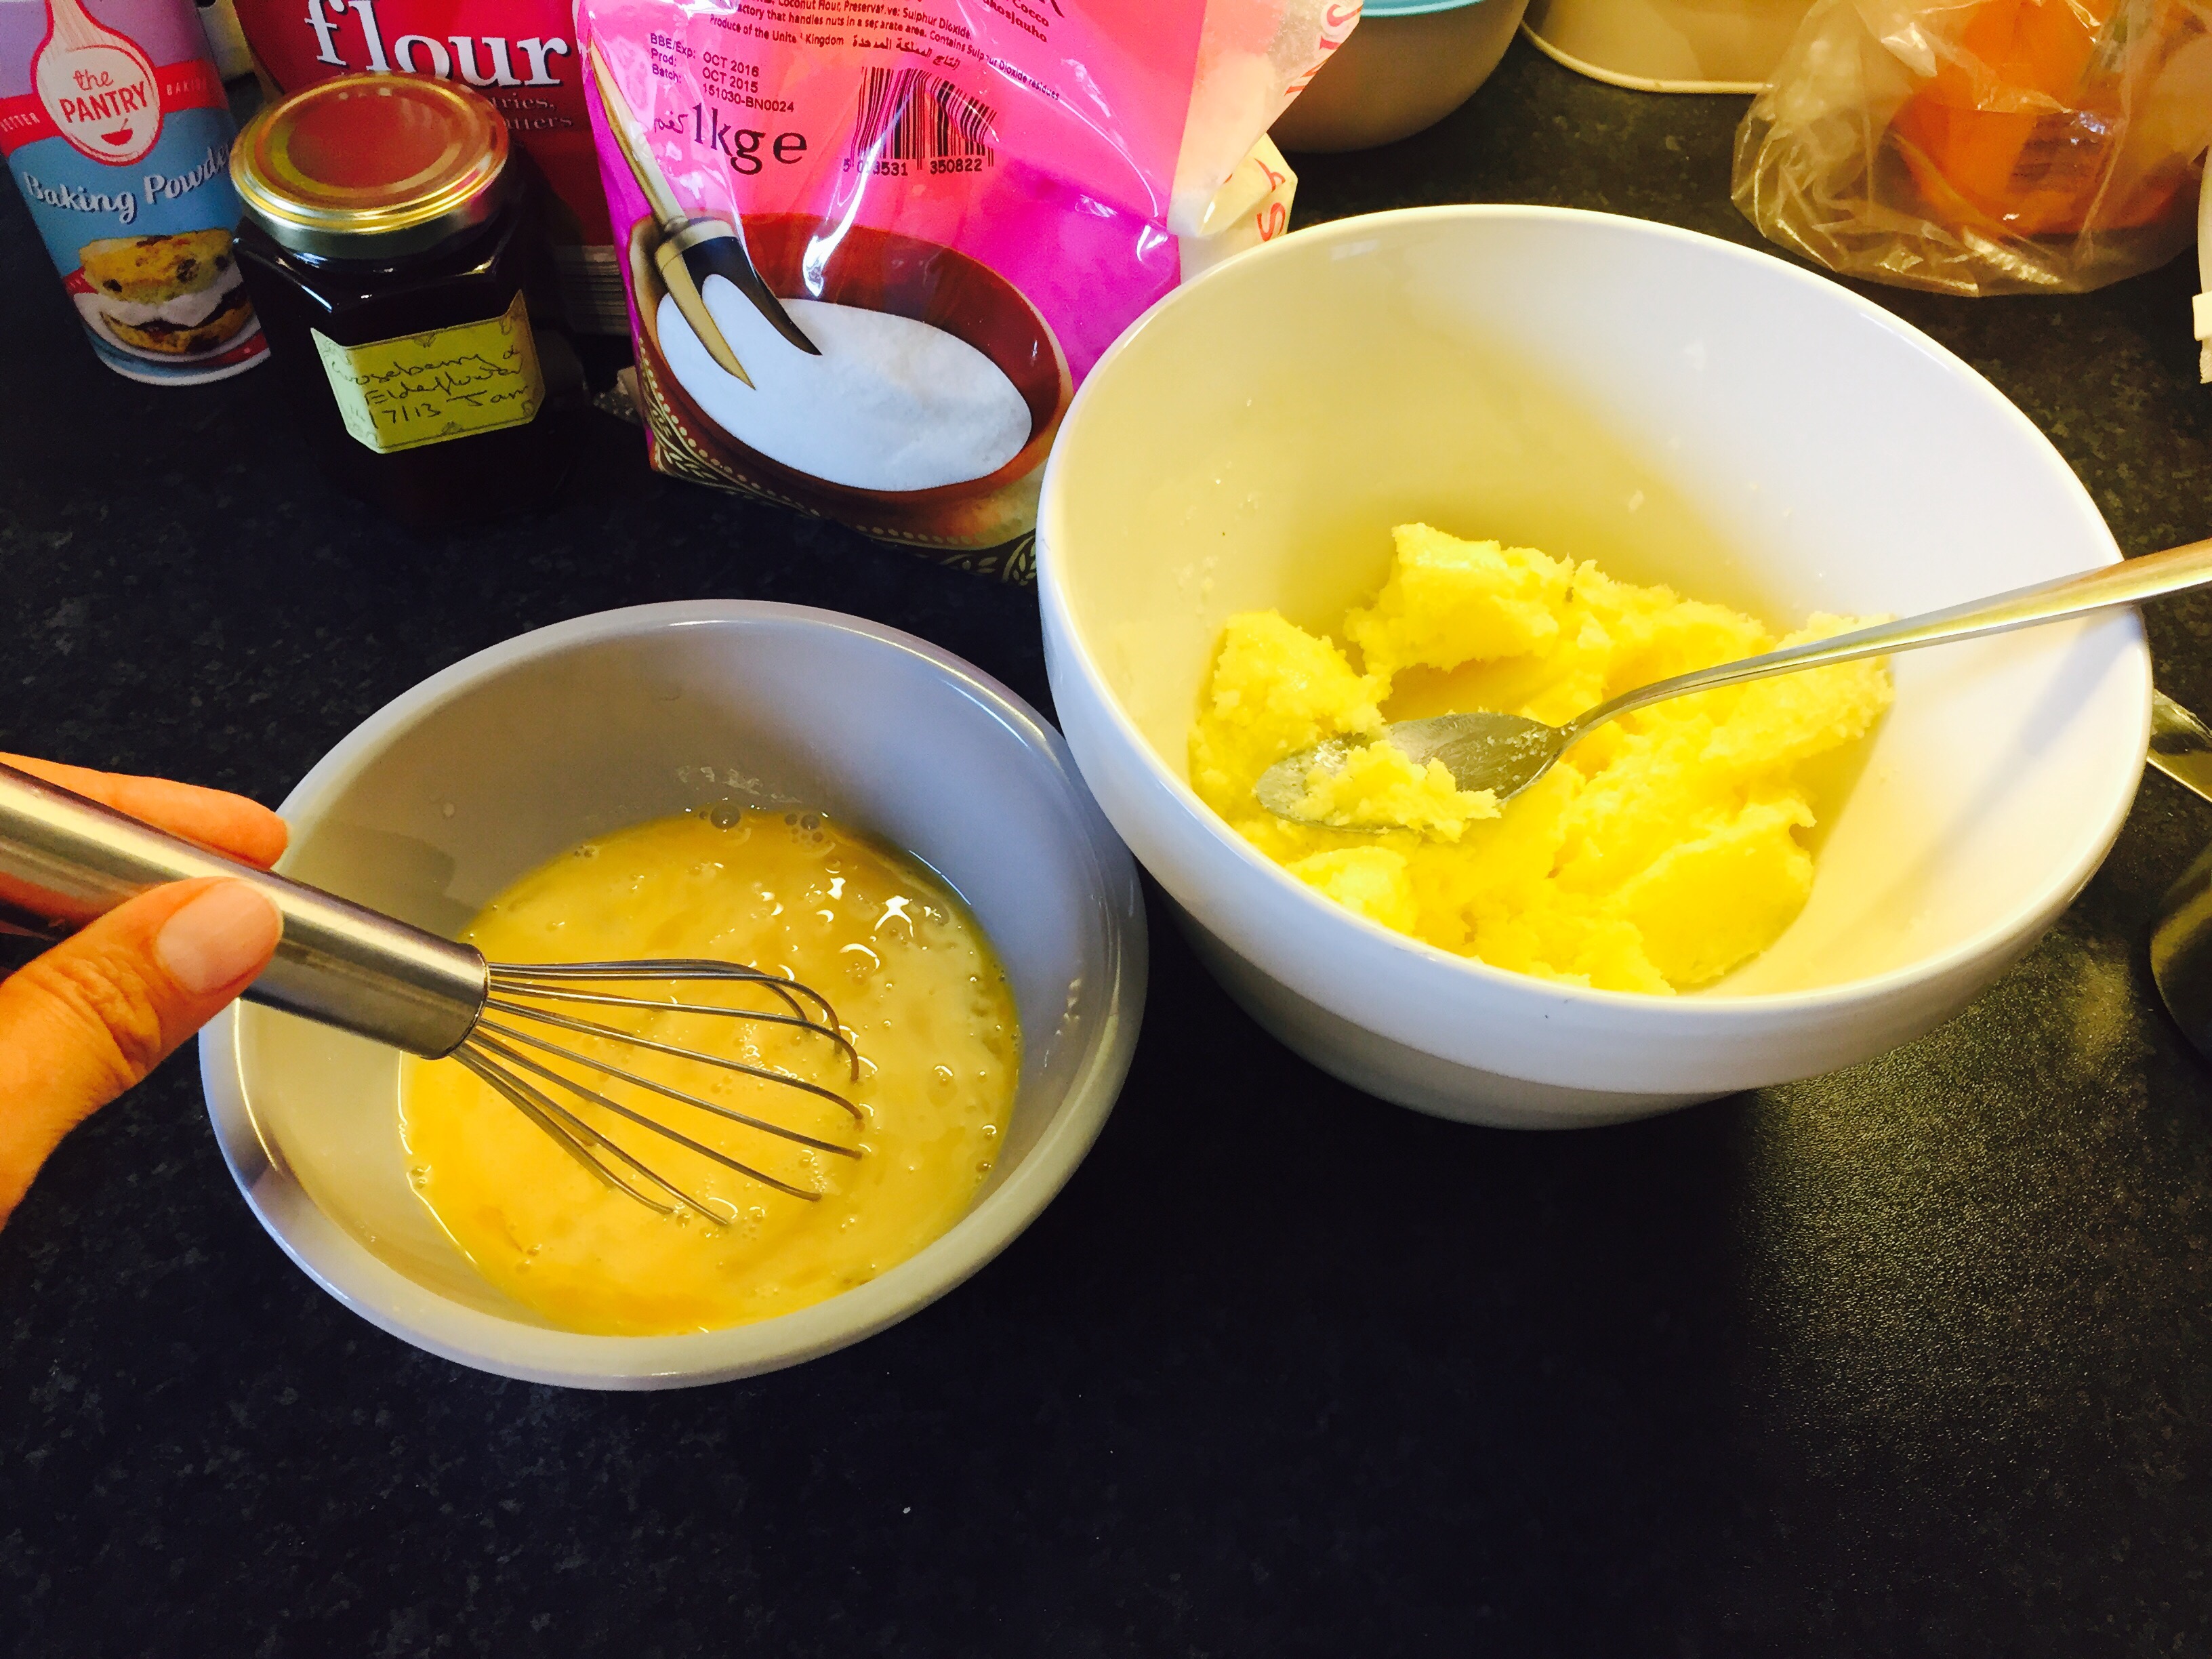
First, cream the butter, sugar, and vanilla. It helps if the butter is room temperature.

Next add in the cocoa powder and mix well.

In a small bowl, combine the coconut flour, baking powder, and salt. Then add it to the butter mixture, combining it well.

In another separate bowl, whisk the eggs very well until yellow and smooth.

You will then add the eggs to the flour and butter mixture. At this point, it is time to really stir it up!

As you can see, at first glance, it may not appear to come together. But keep going.

It will begin to turn a light brown colour, but more mixing is still required.

The mixture will be ready when it looks like brownie batter. If you have a hand mixer, it will be helpful. Otherwise just use a whisk to mix thoroughly.

Go ahead and pour it into a lined or greased loaf tin. At this point you might be thinking there doesn’t seem to be enough batter for a loaf, but don’t worry, it will rise.

Heat the oven to 350 F / 180 C and bake for 24 minutes. Depending on your oven, you may need a few more minutes.

When you take it out the oven, you’ll see that it did indeed rise. You can enjoy it as is, or add a glaze and festive sprinkles similar to the cookies I made last week.

And there you have it, Chocolate Coconut Flour Bread! Well, really, it’s more like cake, but calling it bread means you can have it for breakfast. With 6 eggs and coconut flour, it is actually pretty decent protein wise. It’s also a great option if you are baking for those who cannot tolerate traditional flour. Also, you can substitute coconut oil for the butter to make it dairy free as well.

That’s all for this week. Hope you enjoyed this chocolatey treat and are enjoying holiday baking in your kitchens across the globe. Mind the snow, thanks for reading, and Happy Eating!

Jam Loaf

Here goes another week of using jam in your baking. I used to make a lot of things like this when I was a kid because it was an easy way to bake something sweet using ingredients already in the pantry. As an adult, it’s something I can whip up with little notice for a mid week treat or weekend brunch. Here is what you’ll need:

1/2 cup (100 g) sugar

  • 3/4 cup (150 g) butter
  • 1 teaspoon almond essence
  • 3 eggs, beaten
  • 1 cup (100 g) course coconut flour or dessicated coconut
  • 4 tablespoons milk
  • 1 3/4 cup (250 g) plain flour
  • 1 teaspoon baking powder
  • 6-7 tablespoons jam


First, cream the sugar, butter, and almond essence.


Next, beat the eggs. I prefer doing this in a separate bowl to get them well mixed before I add them in. If you have a mixer, you may not need to do this, but if mixing by hand like myself, this step will help.


You will then mix the eggs into the sugar and butter. This will be easier to do if your butter and eggs are room temperature. I forgot to do this, but it still turned out ok.


Next, add the coconut and mix well, absorbing the liquid fully.


Add the milk next, mixing fully into the batter.


To the batter, add the flour a little at a time, mixing after each addition.

At this point, preheat your oven to 180 C / 350 F. Go ahead and line a loaf tin and spread half the batter in. Then, spoon the jam onto the middle of the batter.


Next, cover the jam with the rest of the batter.


Pop it in the oven for 45-55 minutes. The time will really depend on your oven. Just keep an eye on it, and maybe check it at the 40 min mark. Also, if you feel it is browning more than you’d like, move it to the lower shelf or place some foil on top.


And there you go, an easy jam loaf you’re sure to love! This is super easy to make and is a great way to enjoy your summer jam. It also makes a decent amount, more than enough to enjoy and share.


The finished product produces a lovely ripple of color in the middle and I may try to do another layer of jam the next time I make this. Since we’ve got a lot of rain in the forecast this weekend, maybe we all should bake up a loaf to say goodbye to summer. Until next time, thanks for reading and Happy Eating!

Dark Chocolate Zucchini Bread

After a long absence, I’ve got some new recipes to share. The summer thus far has been lovely and warm here in the southwest. And as a result, quite a few of our friends have had lots of spare veggies to give away from their gardens! We were gifted with a gorgeous zucchini, so the obvious thing to make (along with our leftover Easter chocolate) was a hefty loaf of dark chocolate zucchini bread. Here is what you’ll need:

1 cup plain flour

  • 1/3 cup cacao powder
  • 1/3 cup sugar
  • 1/3 cup brown sugar
  • 1 tsp baking soda
  • 1/4 tsp baking powder
  • 1/4 tsp salt
  • 1/2 cup dark chocolate chips
  • 1/2 cup coconut oil
  • 1 tsp vanilla
  • 2 eggs
  • 1 1/2 cups chopped or shredded zucchini


First, combine all dry ingredients which includes flour, cacao powder, both sugars, baking soda, baking powder, and salt. The reason why I used cacao powder as opposed to traditional cocoa powder, is because that’s all I had. It is essentially raw and not roasted. This creates a darker and sometimes bitter flavor, but works nicely in this recipe. However cocoa powder, which is roasted, can be used as well if that’s what you have.


You can then add the dark chocolate chips to the dry mixture. As you can see, I had almost an entire dark chocolate bunny left from Easter, so chopped up 1/2 cup of his ears and threw that it instead. If you’re not too keen on dark chocolate, milk chocolate works just fine.


At this point make sure you have your zucchini ready. Usually, shredded zucchini works well in making a quick bread. I decided to use the chop function in my blender as I didn’t have a grater or shredder, and that worked just as well. Just remember to drain out a bit of the liquid.


Next, in a separate bowl, beat both eggs. I tend to beat them well before adding to any mixture so they are smooth, as this can ensure a more incorporated mixture later on.


Next, measure out the coconut oil and vanilla into another bowl. To this, add the chopped or shredded zucchini. Then throw in the beaten eggs and mix it up. You can actually use any type of oil,  like canola or vegetable, but I used coconut as this is what I had in my pantry. Just remember to make sure your eggs are room temperature and that the coconut oil is melted or softened. If the eggs are really cold, it will solidify the coconut oil which can make it difficult to mix evenly.


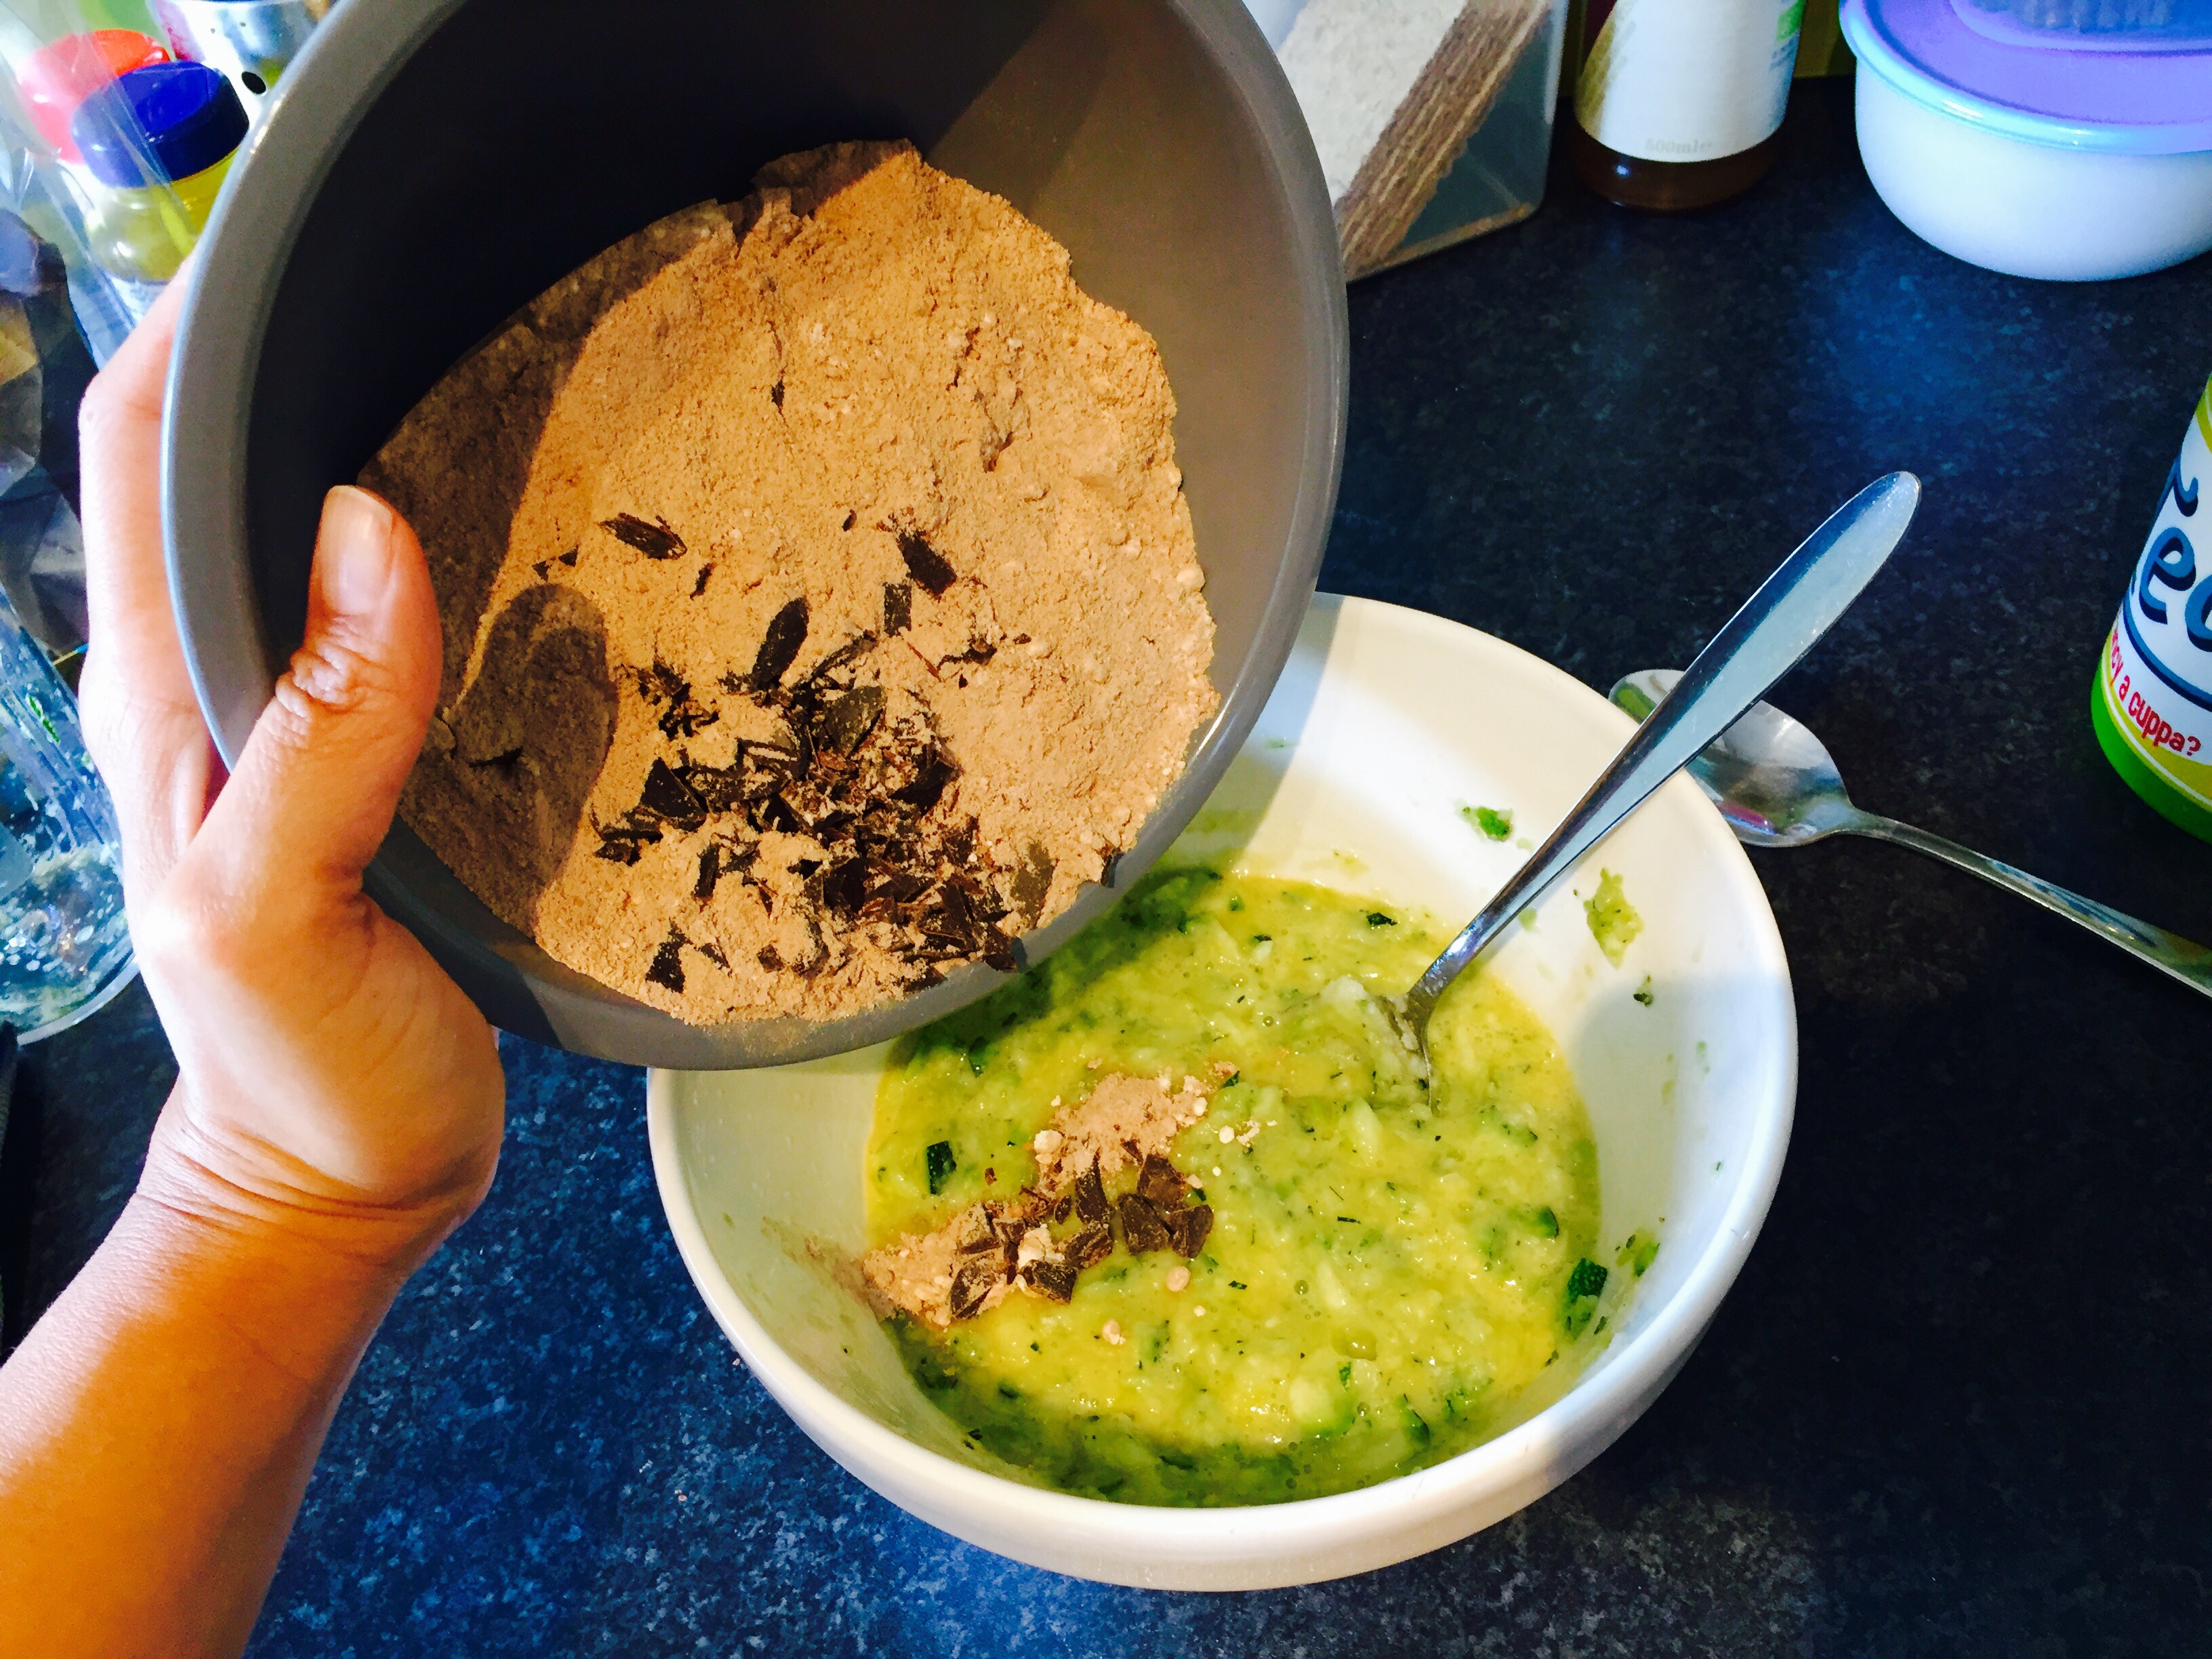
Once the liquid mixture is combined, incorporate it with the dry mixture, and stir well.


Grease and/or line a bread tin and pour the mixture in.  Let it rest while you preheat your oven to 180 C / 350 F.


Bake for 40 minutes, or until a toothpick or knife comes out clean.


Once ready, take it out of the oven and let it cool completely. Because it will be very moist, this ensures that it won’t break apart as much if you try to cut a piece.


And there you go! Dark Chocolate Zucchini Bread, perfect for eating on a warm summer day. It came out moist, gooey, and very satisfying. I enjoyed it as it was, but I can imagine it would taste great with a drizzle of vanilla or coffee flavored icing. Have fun trying this recipe with your summer bounty. And as always, thanks for reading and Happy Eating!

Regular Rye Bread

So, I received 3 cookbooks for Christmas and I can’t wait to slowly attempt the plethora of recipes that await. However, I really want to polish up my bread baking skills first before I try anything too advanced. Bread is just one of those things that isn’t really complicated ingredients wise, but the process can be a bit tricky. My aim is to try a basic recipe, then build upon it. As I bought a small bag of rye flour recently, I thought I would try a basic rye bread recipe. Here is what you’ll need:

1 tablespoon active dried yeast

  • 2 tablespoons sugar
  • 1 cup warm water
  • 3 tablespoons olive oil
  • 1 cup rye flour
  • 1  3/4 cup strong white flour
  • 1/2 teaspoon salt

 
First, combine the warm water and sugar in a bowl, mixing until dissolved. Then add the yeast and let it sit for about 10 minutes until it begins to bubble and foam up. You will then add the olive oil.


Measure out your flour and add the salt to it.


Add the flour mixture to liquid bit by bit until combined. It will seem sticky at first.


Go ahead and begin to knead it. As you handle the dough, the water will absorb. You want the texture to be smooth, which can take up to 10 minutes. It may not take as long if you use a mixer.


Cover the dough and let rise for about 20 minutes.


I then punched down the dough and put it in a bread tin to achieve a second rise.

Cut a few slits on top, then pop into a heated oven at 350 F / 180 C for 25 minutes.

 And there you go, a simple, regular loaf of rye bread. It came out soft with a lovely flavor. It can be enjoyed on its own, or with a hot bowl of chicken stew that has been in the slow cooker all day.

However,  as delicious as the bread was, it didn’t achieve much of a rise after I put it in the oven. It rose well initially, but it may have needed more water. Or maybe it didn’t need a second rise. Hmm, I don’t know, but I plan on trying again. Anytime you use a whole grain flour, the gluten structure may be affected (so I’ve heard), so sometimes more water may need to be added. Or less oil; I read that too. Well, back to the drawing board. Thanks for reading and Happy Eating!